Unleash Your Creativity: A Beginner's Guide to Melt and Pour Soap Making
Have you ever wanted to make your own custom soap? Melt and pour soap making is a fantastic entry point into the world of handcrafted bath products. It's a simple, safe, and fun way to create personalized soap bars that are perfect for yourself, for gifts, or even to start a small business.
Here's a breakdown of the creative journey you can take with melt and pour soap.
---
### Understanding Melt and Pour Soap Bases
The first step is choosing your **melt and pour soap base**. These are pre-made blocks of soap that are ready to be melted down, customized, and poured into molds. Each base has its own unique qualities.
* **Glycerin bases** are great for beginners as they're clear and easy to work with, making them ideal for adding vibrant colors.
* **Goat's milk bases** create a creamy, luxurious lather.
* **Shea butter bases** are known for their moisturizing properties.
Exploring different bases is key to finding the perfect texture and feel for your ideal soap.
---
### Personalize with Additives and Colorants
This is where you can truly let your creativity shine! Once your base is melted, you can add a variety of ingredients to make it your own.
* **Essential oils and fragrance oils** let you create custom scents, from calming lavender to invigorating citrus.
* **Natural colorants** like clays and herbs can give your soap a rustic, earthy look.
* **Herbs and spices** can be added for both color and texture. Think of a swirl of paprika for a warm orange hue, or crushed oats for gentle exfoliation.
By experimenting with these additives, you can create a soap that is uniquely yours in both scent and appearance.
---
### Choosing the Right Molds
The mold you choose dictates the final shape of your soap. Don't feel limited to basic rectangles! There are countless options available, from simple classic shapes to intricate, eye-catching designs. Silicone molds are a popular choice because they make it incredibly easy to pop out your finished bars.
---
### Master Advanced Techniques
Ready to take your soap-making to the next level? Experiment with different techniques for a stunning visual effect.
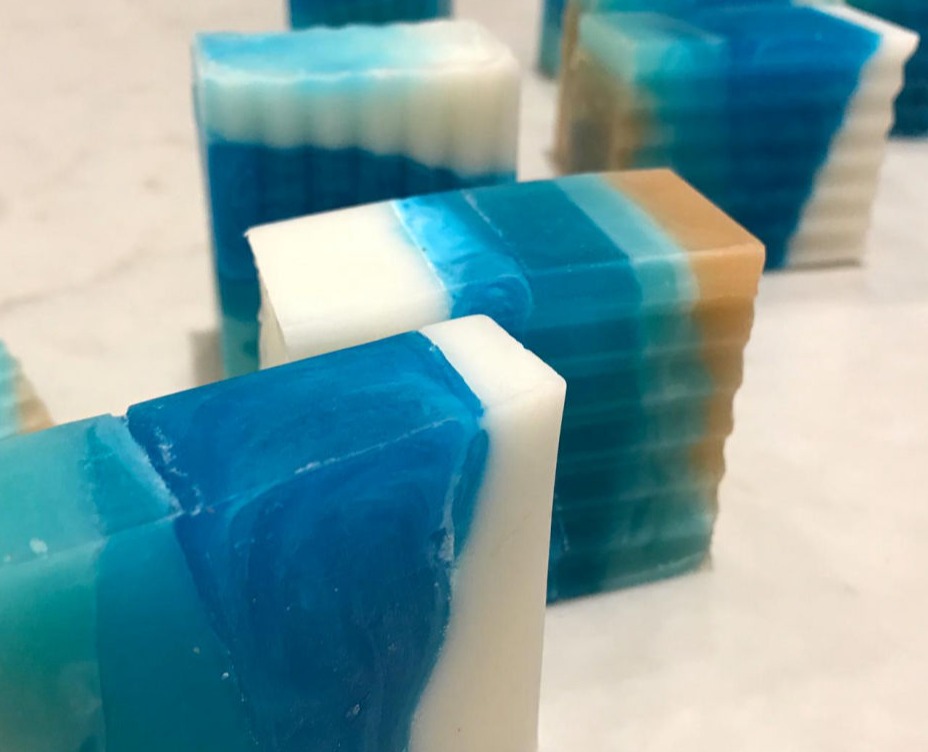
* **Layering** is a great way to create a multi-colored soap. Simply pour one layer, let it set, then pour another on top.
* **Swirling** involves adding a different color and gently mixing it in with a stick or skewer for a beautiful marble effect.
* You can also **embed** small toys, dried flowers, or other decorative elements inside your soap for a surprise in every bar.
---
### The Final Touches: Curing, Packaging, and Presentation
Once your soap has cooled and hardened, it's technically ready to use. However, a short **curing process** (just a few days) can help ensure it's at its best. During this time, the soap hardens, and excess moisture evaporates, leading to a firmer, longer-lasting bar.
Finally, think about how you want to present your creations. Simple paper wraps, custom labels, or small boxes can elevate your handcrafted soap and make it look professional and polished—perfect for gifts or for selling!
Melt and pour soap making is a rewarding and fun hobby. With just a few simple supplies and a little creativity, you can create beautiful, personalized soap bars that are a treat for the senses.
- Top 10 melt and pour soap base suppliers in Canada